
How to Fix a Broken Window: A Step-by-Step Guide for Weatherford Homeowners
JD
Introduction
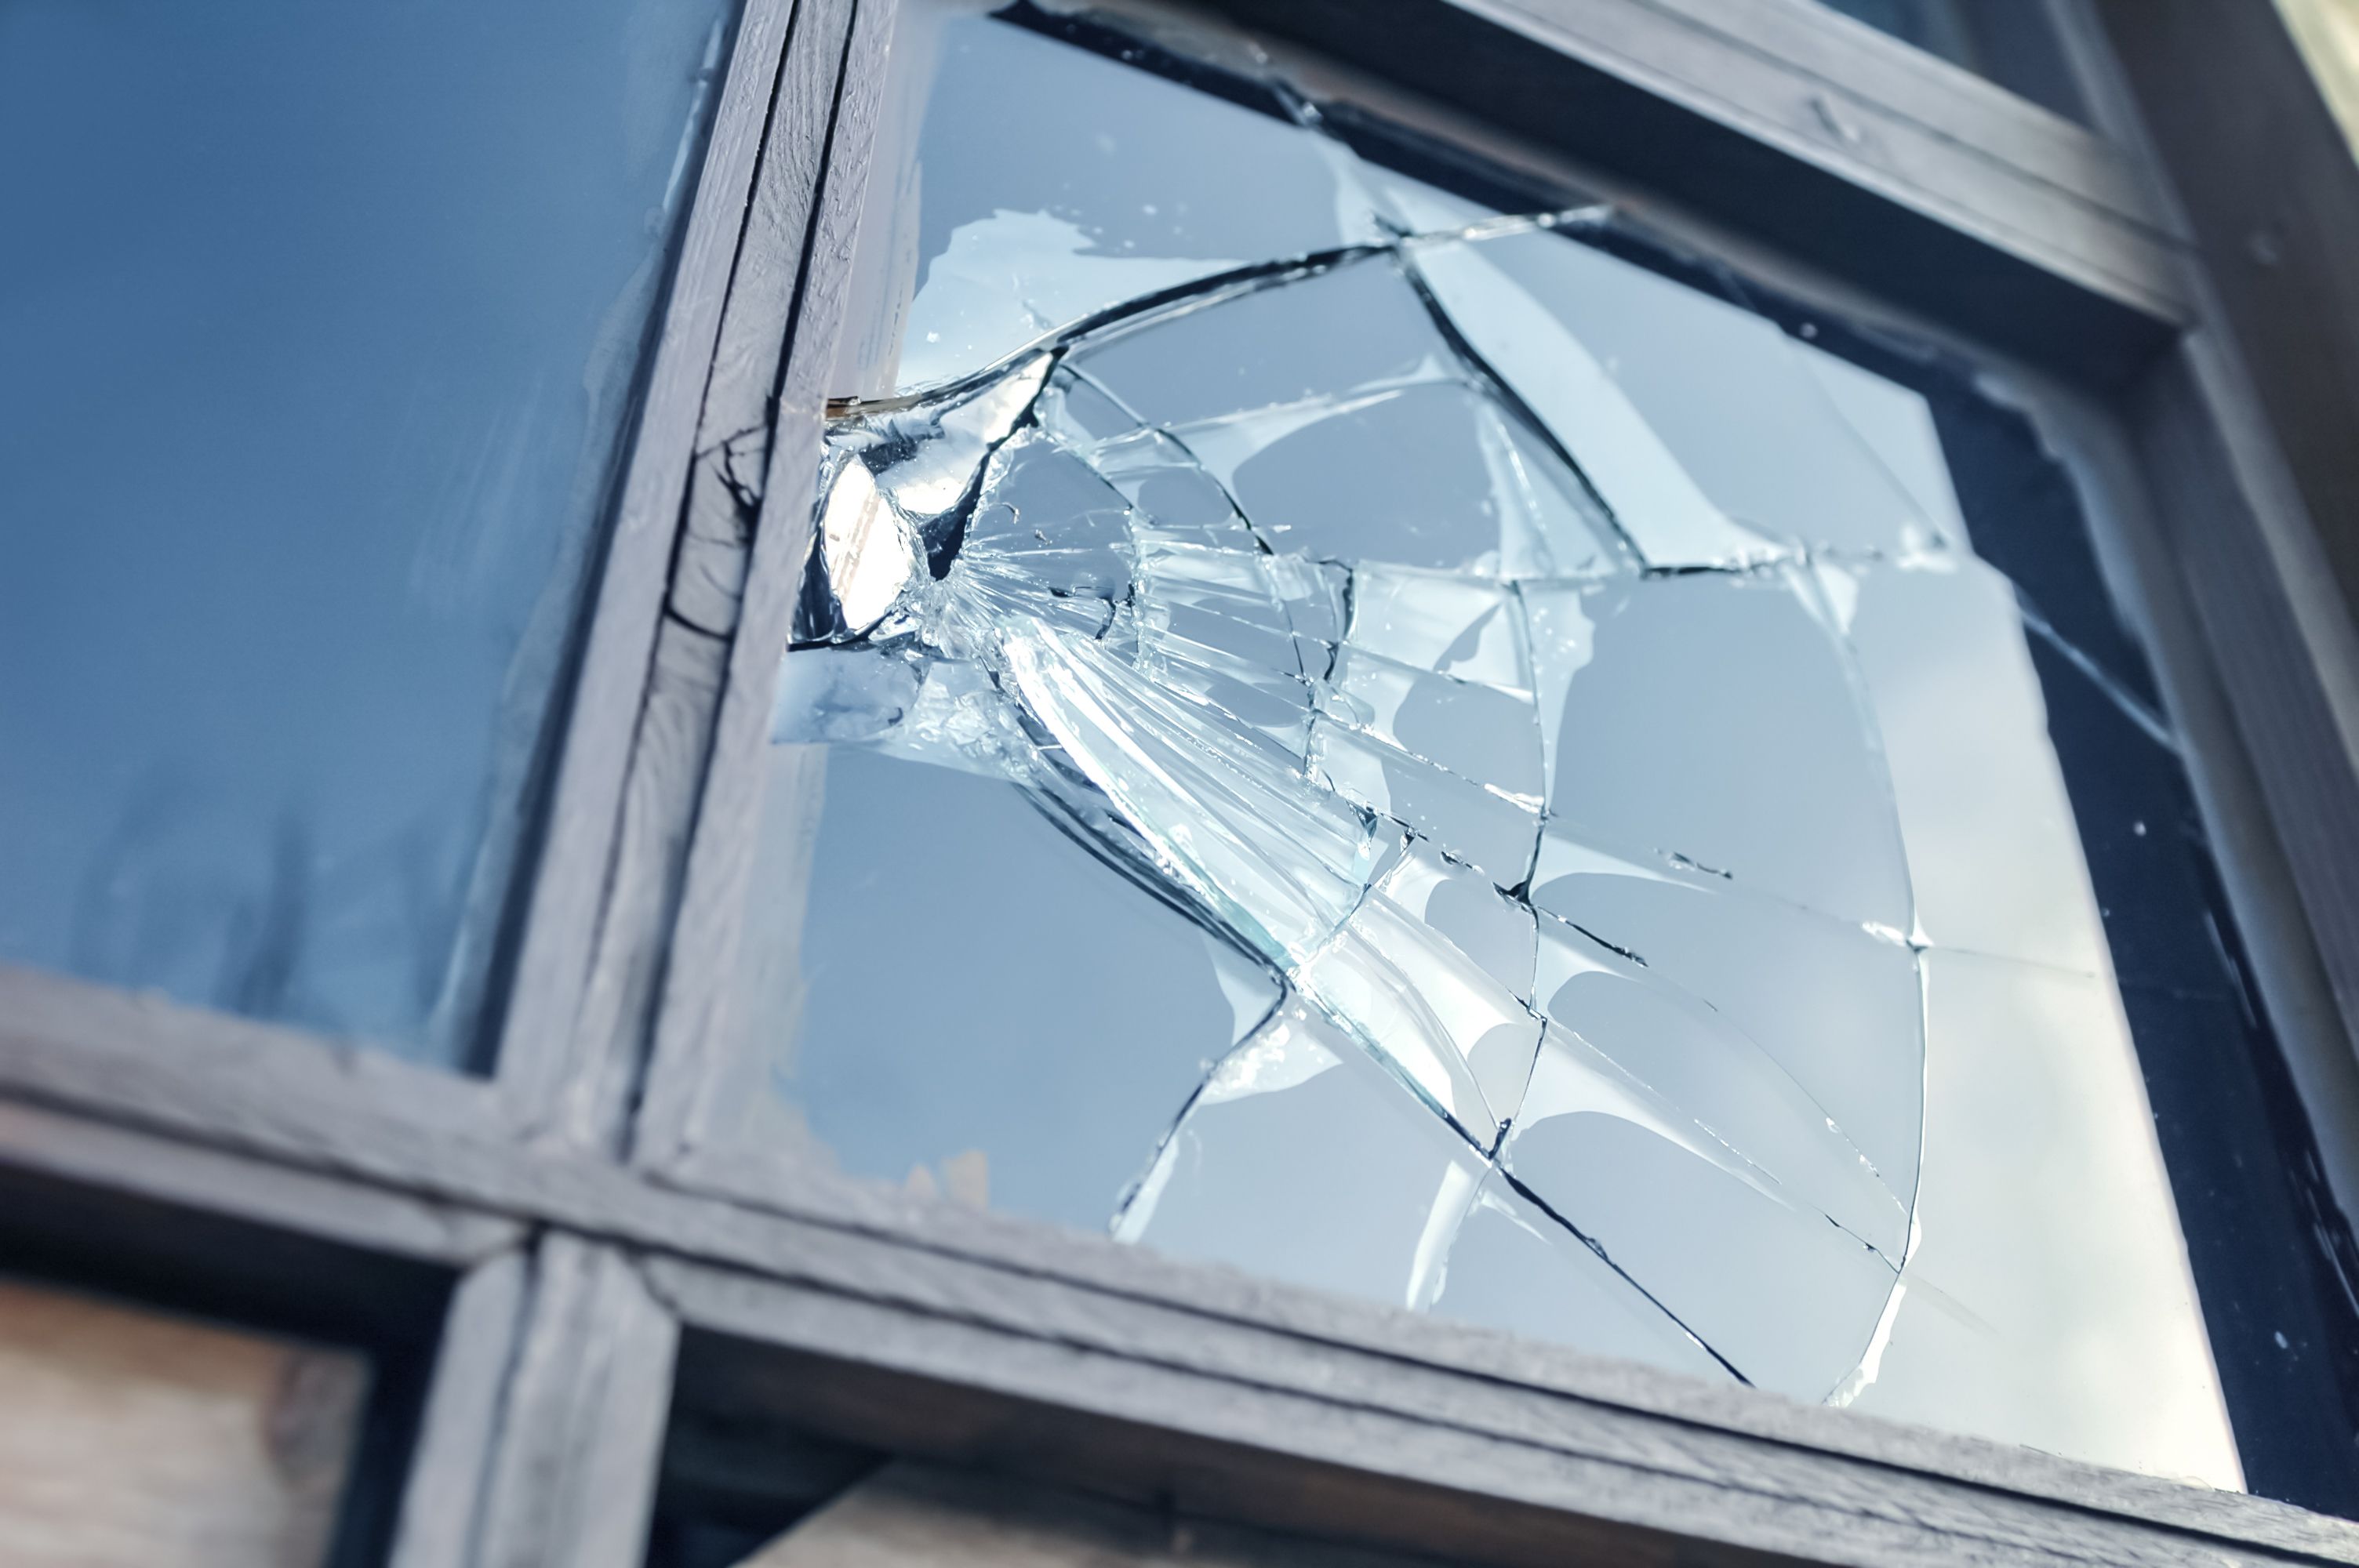
Windows are essential components of any home, providing natural light and ventilation while offering a view of the outside world. However, accidents happen, and windows can break. If you're a Weatherford homeowner facing this issue, don't worry. Fixing a broken window can be a manageable DIY project. With the right tools and guidance, you can restore your window to its former glory.
Gathering Your Materials
Before you begin the repair process, it's crucial to gather all the necessary materials. Having everything on hand will make the task more efficient and less stressful. Here's a list of what you'll need:
- Replacement glass or acrylic sheet
- Glazier's points
- Putty knife
- Glazing compound or window putty
- Glass cutter (if needed)
- Protective gloves and eyewear
Note: Ensure you have the correct measurements of your window to get the right size replacement glass.
Removing the Broken Glass
Once you have your materials ready, the next step is to safely remove the broken glass. Remember, safety first—wear your protective gloves and eyewear to prevent injuries.
- Carefully remove any large glass shards still in the frame.
- Use a putty knife to scrape away the old glazing compound around the edges.
- Remove the remaining glass pieces and glazier's points.
Preparing the Frame
With the old glass removed, it's time to prepare the frame for the new pane. A clean, smooth surface will help ensure a secure fit for the new glass.
Use your putty knife to remove any remaining putty or debris. Sand down any rough areas if necessary to create a smooth finish. This step is crucial for ensuring that your new window will sit snugly in place.
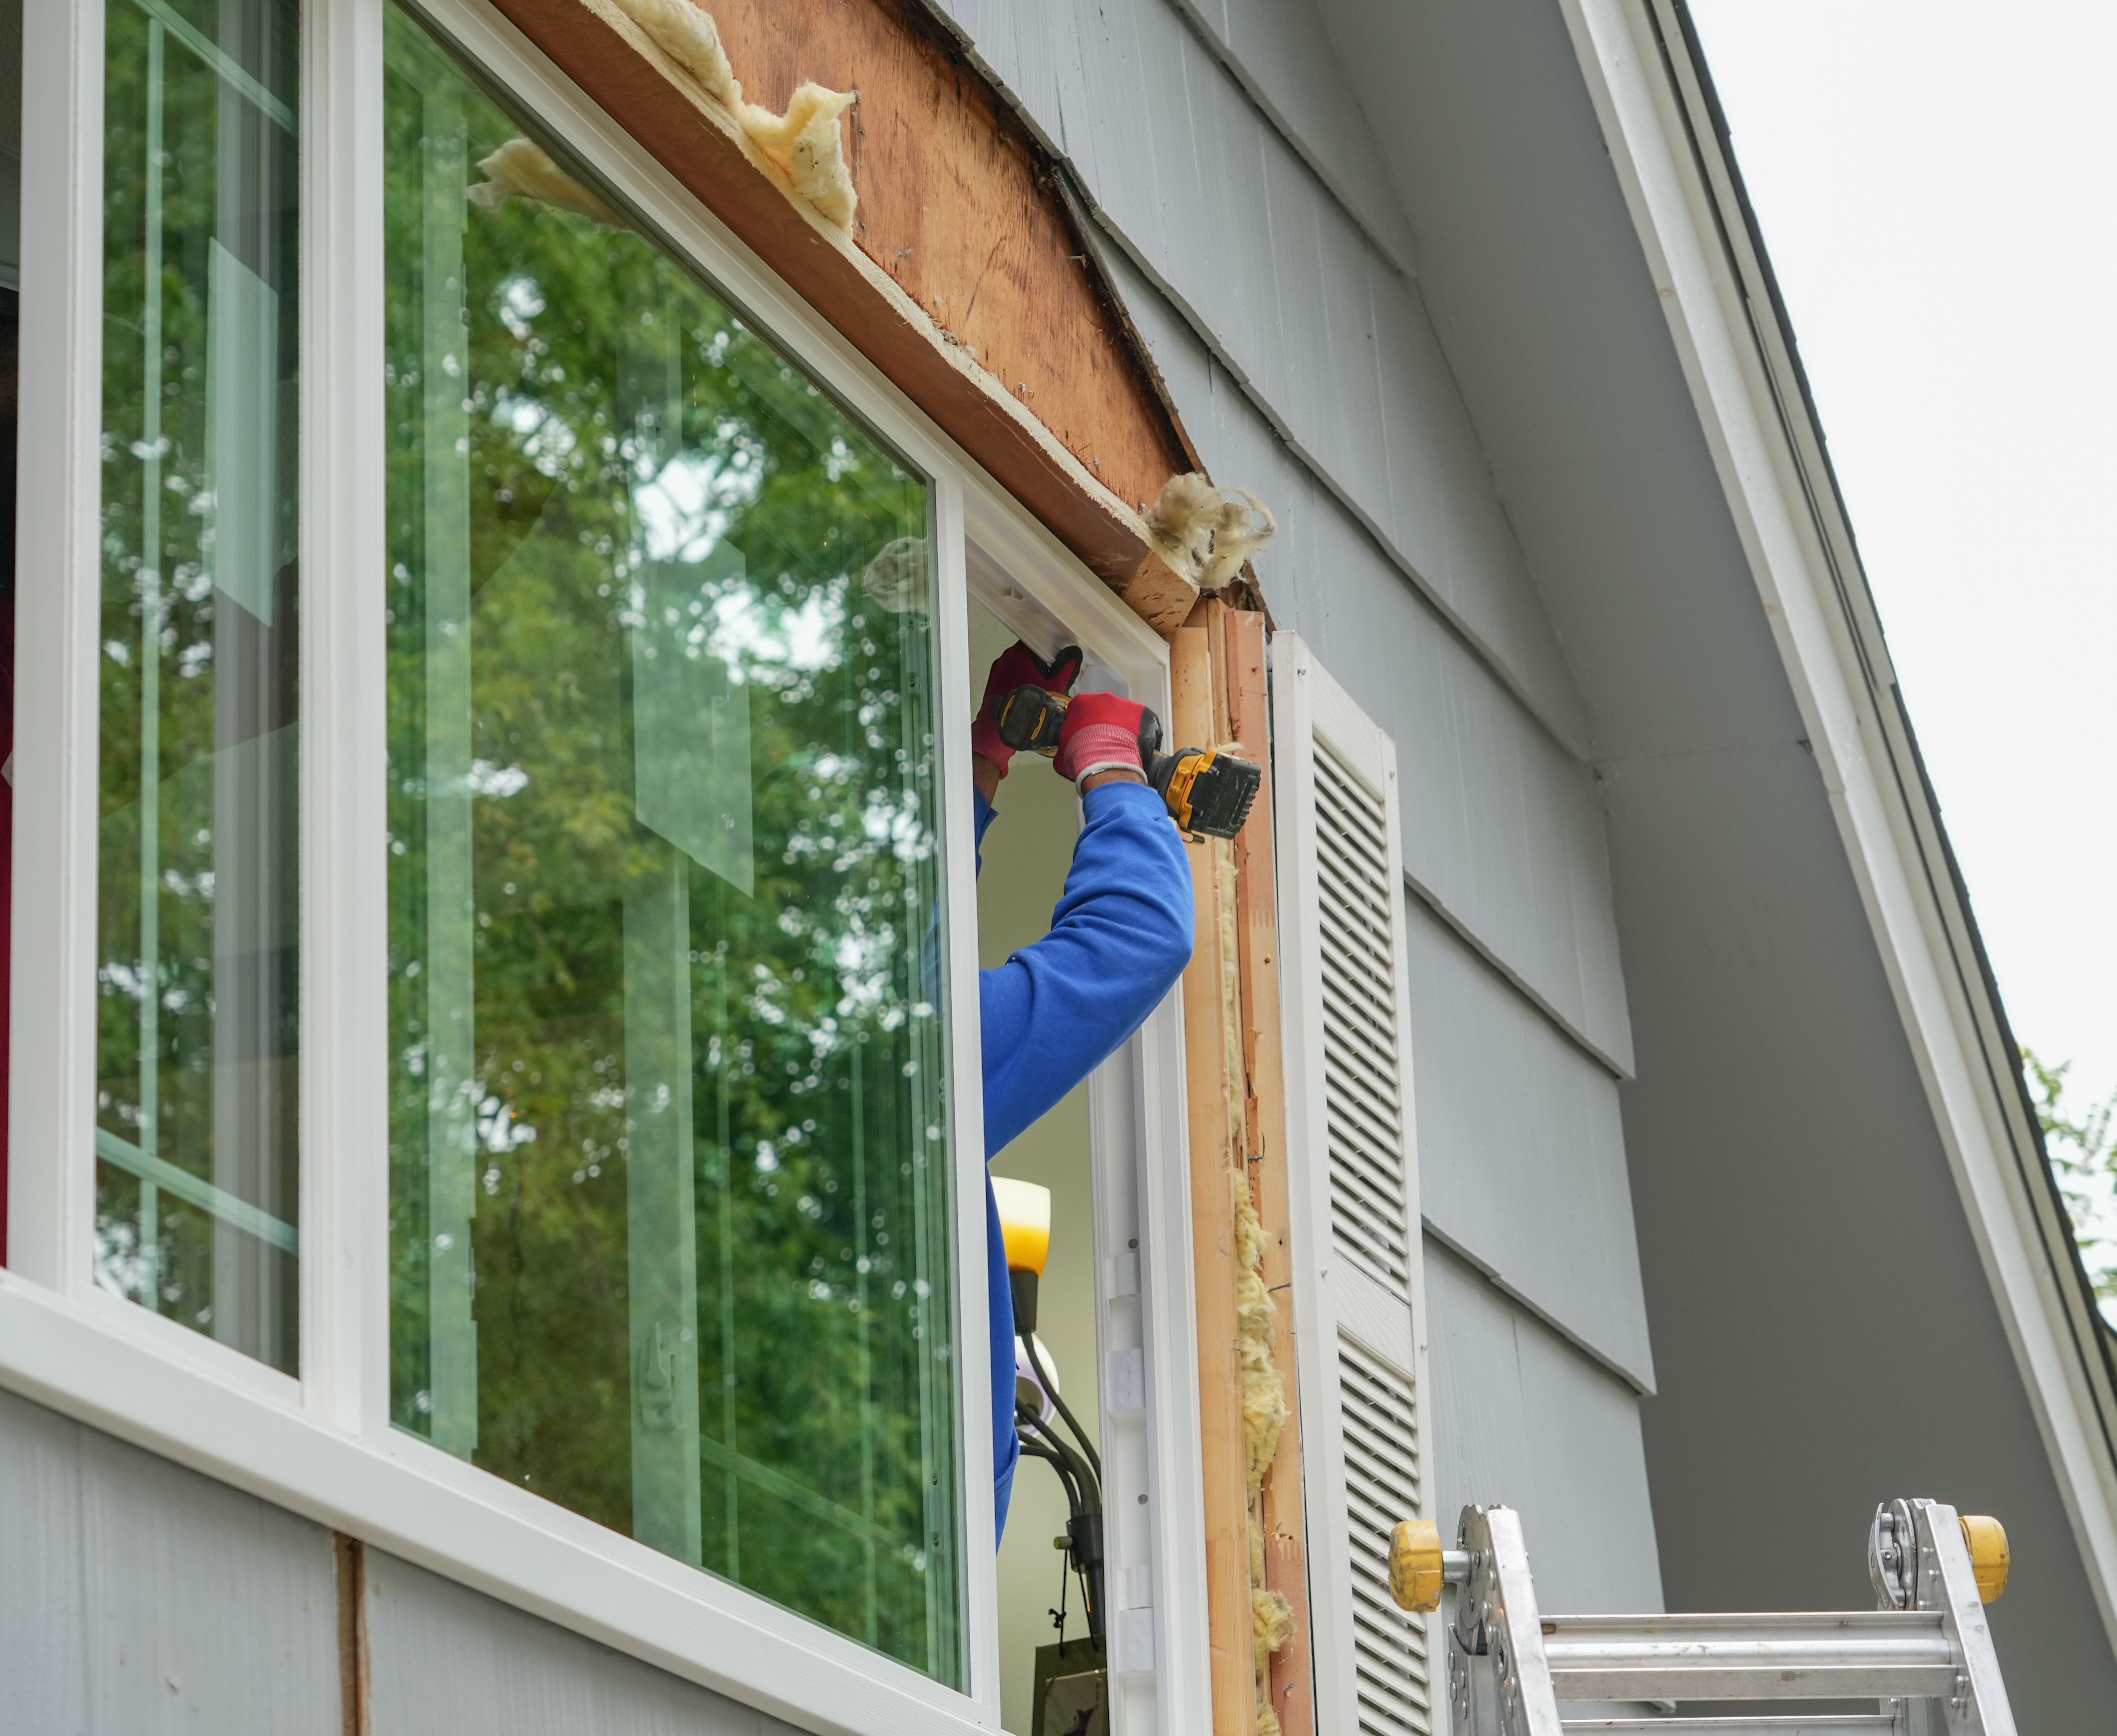
Installing the New Glass
Now that your frame is ready, it's time to install the new glass. Follow these steps for a secure fit:
- Place the new glass or acrylic sheet into the frame.
- Use glazier's points to hold the glass securely in place. Insert them evenly around the frame's perimeter.
- Apply a layer of glazing compound around the edges to seal the glass.
Finishing Touches
After installing the new glass, you'll want to ensure that it is both secure and aesthetically pleasing. Smooth out the glazing compound with your putty knife, creating a neat seal around the edges of the glass.
Allow the glazing compound to dry for at least 24 hours before touching or painting it. This drying time ensures that your new window will remain firmly in place and protected from weather elements.
Conclusion
Fixing a broken window might seem daunting at first, but with this step-by-step guide, Weatherford homeowners can handle it confidently. By following these instructions, you can save both time and money by not having to call a professional for help. Remember to always prioritize safety when handling glass and use appropriate protective gear throughout the process.
After completing your repair, take a moment to admire your handiwork. Not only have you restored functionality to your home, but you've also gained valuable DIY skills that can be applied to future projects.